


General
Yes! Unlike gas fireplaces that require venting lines, most Dimplex fireplaces just need to be unplugged.
Dimplex has developed an award-winning patented technology which provides a realistic, wood-burning flame.
Yes! The Dimplex flame and heater operate independently of each other. This means you can enjoy the ambiance of a realistic flame all year round!
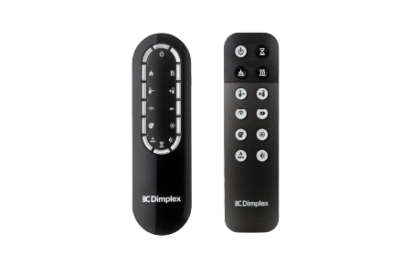
Depending on your Dimplex model, controls will vary. Please reference your Owner's Manual for flame control functions.
We have many different fireplaces with a variety of sizes to fit pre-existing openings. Please contact our Customer Support team with the opening’s dimensions (H x W x D).
Yes! Most of our units can be installed by our consumers. The installation process is designed to be as simple as possible. There are other Dimplex models that may require an electrician or plumber to help with the installation.
You can put a Dimplex fireplace in any indoor area, if it is clean and dry. Whether you want to add ambiance to your living room, family room, bedroom, kitchen, foyer, or dining room, Dimplex fireplaces are perfect for single family homes, condominiums, apartments, mobile homes, or cottages.
All the manuals are available on our website on each product; look for the "Downloads" tab.
Dimplex fireplaces have full electrical certification throughout North America for complete peace of mind. To ensure the safety of your family members, no combustible energy sources are used to produce the flame. This means that you never need to worry about oxygen depletion or carbon monoxide poisoning in your home. The glass remains cool to the touch to ensure children do not burn their hands on the glass. It also does not contribute to indoor moisture or mold concerns. Other features include impact resistant safety glass and heater safety cut-out with reset controls.
Dimplex models are designed to be easily maintained. Please reference your Owner's Manual for specific maintenance instructions.
California’s Proposition 65, called the Safe Drinking Water and Toxic Enforcement Act of 1986, gives California consumers the right to know when products contain chemicals known by the state of California to cause cancer, birth defects, or other reproductive harm.
Media Console & Mantels
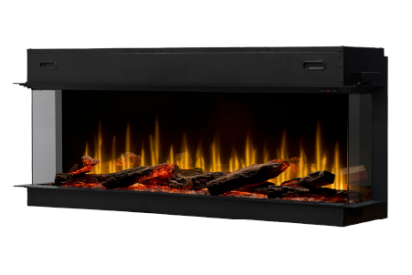
Linear Fireplaces
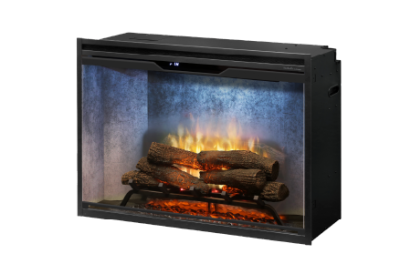
Plug-In Firebox
- The batteries in your remote control need replacing.
- The remote control may need to be initialized with the fireplace. Please refer to Owner’s Manual for step-by-step instructions.